


[222] CUTTING BOARD
Posted: viernes, 15 de julio de 2011 by Superhero!! in
I must confess, being a woodworker hobbyist I'm always looking for new cute projects to build. But sometimes I miss the most obvious ones. That was the case on my wife's cutting board, it was an ugly and worn thing. My wife deserve a new one. So, here I am (a Superhero) to build it.
.CUTTING BOARD

.
.
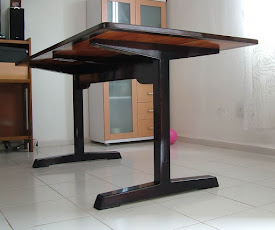
Do you remember the top of the kid's table? I built it using a lot of scraps. Mmmh perhaps should say offcuts. Anyway, I have this offcut from the offcuts and didn't want to throw it away... I check its size and noticed it was barely enough for a cutting board. A quick and funny project.

.
This project was intended to keep me from throwing wood. But also a good chance to explore the very famous technique by Marc Campagnoulo for his own cutting board. This is not a copy from his, but based on it (sort of).
I started by crosscuting the offcut into 7/8" wide strips. Each one will be rotated 90° in the next step to expose endgrain, so after flattening and cleaning up I expected to get a 3/4" thick cutting board.

.
Next step is to re-arrange the strips for a nice look. First, each strip was rotated 90° to expose end grain. Then, I flip each second strip up side down in order to create an interesting pattern. End grain surface supposed to be a better one for a cutting board -instead a regular one- because the way the knife and the fibers... blah blah blah... nevermind.

.
When I'm Ok with the pattern, it's time for a messy glue up. I like to use a plastic foil on my workbench at this time, it's ugly but catches all those glue drippings. I use long bar clamps with a piece of scrap wood for an even pressure distribution and keeping the bars from denting the workpiece.
The real trick here is keeping all those strips aligned. Glue makes things slippery. So, I use leftover pieces of wood (already varnished) clamped on the sides to keep all the strips aligned.

.
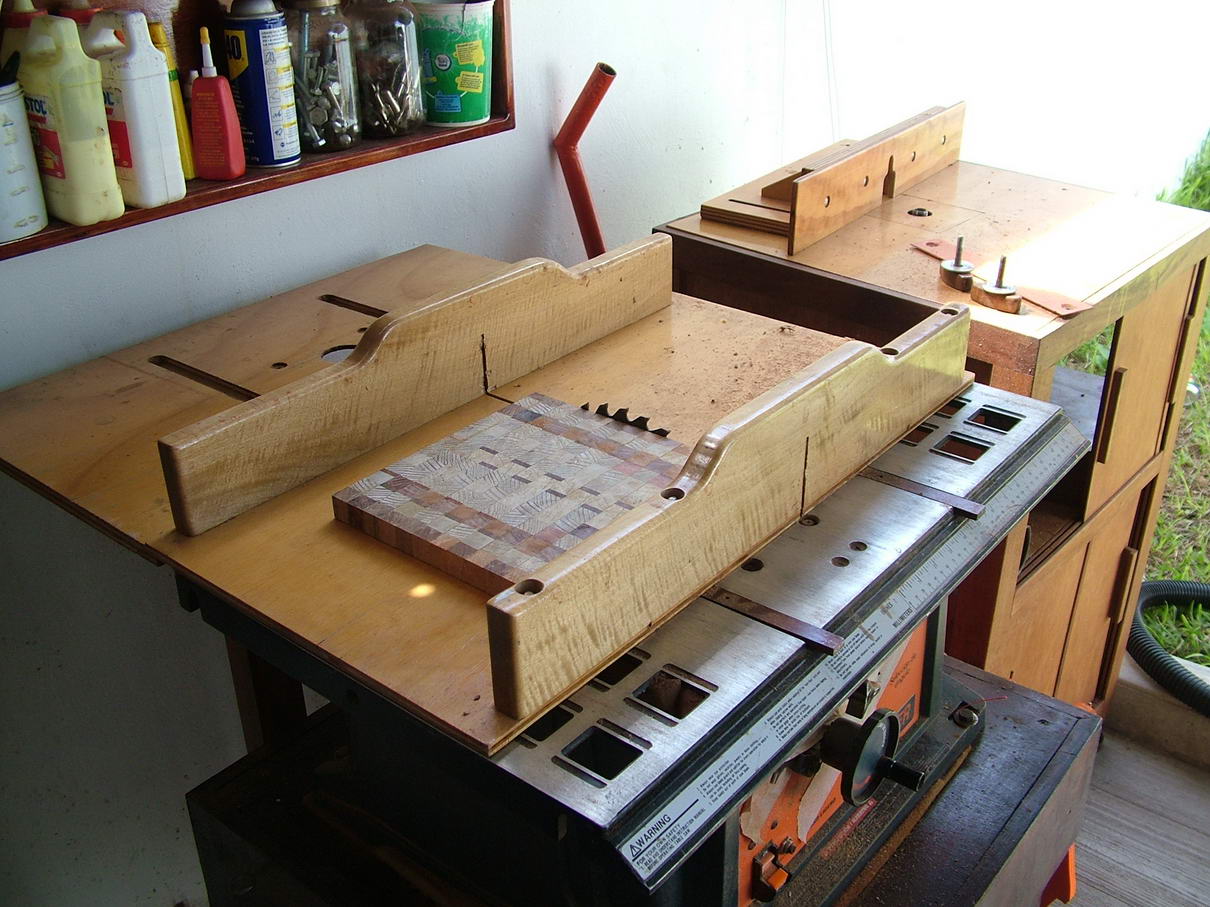
When the glue was dried, I took off all the clamps and found the cutting board was slighty out of square. My table sleed is perfect for squaring stock. A cutting board doesn't need to be perfectly square, but I don't want someone to see it and say it's silly.
This wasn't part of my original idea. I felt the cutting board a bit small, so I ended up adding an end trim. All four pieces are solid stock, and are glued up face to face, so I didn't bother on creating a tongue and groove joint.

.
I used a super-sophisticated high-tec jig to layout a curve on the corners (a WD-40 can). Then I trimmed on my scroll saw. Damn, I need to get a band saw. How can I explain to my wife that I need ANOTHER tool?? She doesn´t understand me.

.
In between previous steps, I removed the dried glue with a chisel. Then work with a block plane to flatten the cutting board, not so much, just a few passes. I also rounded all edges whit a router bit (on my router table, of course). Now is time for final sanding. Working on endgrain can be tough. A belt sander is usually powerfull enough for the job... and very noisy btw.

.
I have trouble finding an adecuate finish. Obviously, I can't use polyurethane. I found mixed bee wax on sale at the hardware store, but not a good idea because the warning about some toxic ingredients. I know there are some special products for this kind of aplications, unfortunately not for sale in my town. Buying on the internet was a choice but... Just for a small cutting board? I don't think so.
I ended up applying four coats of mineral oil. The kind used for baby care. Not ideal, but better than nothing

.
I had this rubber pads lying around from an old something I dissasembled several weeks ago. They are excelent for this project. I drill pilot holes to prevent wood split.

.
.
One of the first uses we gave to this little thing was cutting lemons. Nou, not for lemonade. We needed lemons -and salt- for a six pack beer. .
.
Nos vemos luego!!!
Hi!
Happy New Year!
Health, luck and love!